Convert CD500 to DVD800 - Step by Step Guide.
 Convert CD500 to DVD800
Method
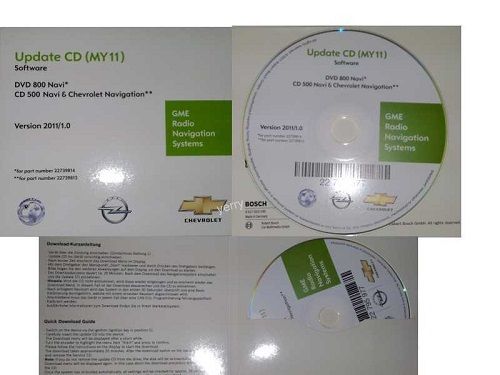
You need to download a modified version of the GM Update Disc as linked below. Once downloaded you need to burn the contents to a CD (or copy the files to a USB drive if you're MY2011). Depending on the file you choose, will depend on the outcome. Some themes include the CD500 to DVD800 patch and as a result add 3D navigation views, some do not include the patch (Infinity MY2009/MY2010 does not for example). Whichever update you choose may or may not erase your current maps. In many cases, the maps tend to remain in the memory of the CD500 (MY2009/MY2010) despite the warning suggesting otherwise (this cannot be guaranteed). Retaining the maps on MY2011+ is a bit more miss than hit, with more users reporting the need to reload the maps.
Note:
For MY2011 users upgrading to the DVD800 firmware, CD500 map update discs are no longer recognised and you need to use DVD800 maps - pay attention to this, as maps are almost always deleted when performing this change on MY2011 cars. For MY2009-10 vehicles, you can still use the CD500 maps after the upgrade.
Note: Everything you do - you do at your own risk . If in doubt do not attempt this. It is almost guaranteed that carrying out this procedure will void any warranty on the affected items. Due to the nature of the Vauxhall radio setup, a fix could cost in excess of £500.00.
Upgrading CD500 to DVD800
- introduces 3D Maps and Tours functionality to CD500 users.
If you want to keep the original themes, but just patch up to a DVD800, and get the 3D Navi view, and Tours function, then this is all you need. Download the file and then skip to the 'Performing the Upgrade' section towards the bottom.

(you could replace all instances of images.uli with the one from your theme, giving theme & DVD800 patch)
If you want to change the appearance, then download a theme from below and read on.
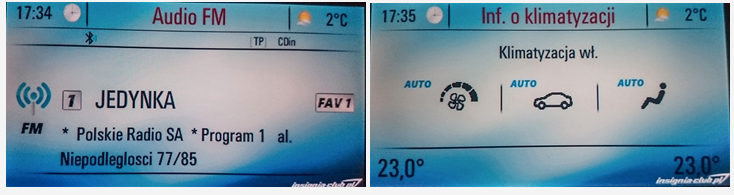
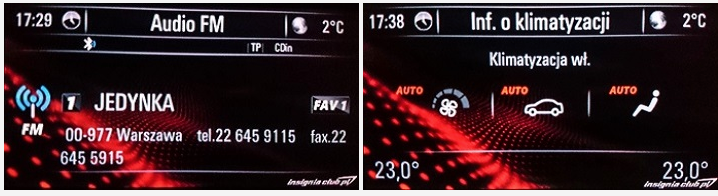
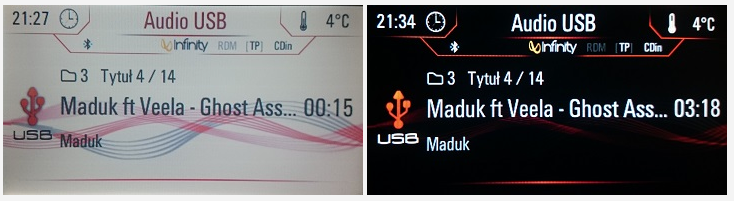
Applying a Theme to your CD500/DVD800
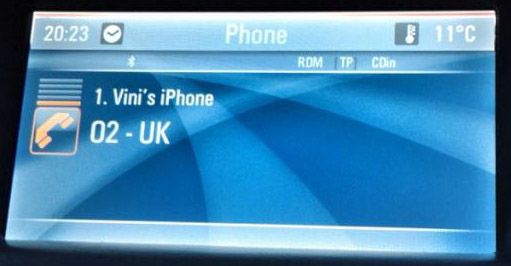
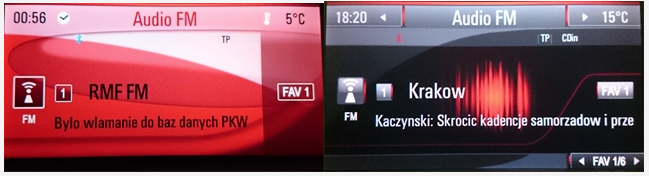
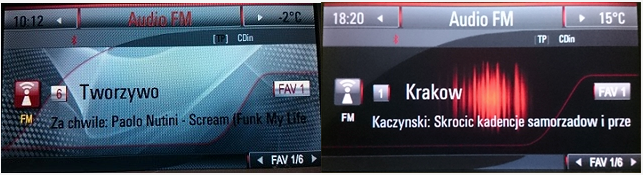
- see images below, some of these themes may also add the 3D Maps and Tours functionality.
Downloads

- debranded (created my own standby screen, removed all Infinity references and made a few other tiny alterations that no one would notice)
Performing the Upgrade
Download one of the above files, they range from 150MB to 300MB. After the download has finished, you should have a .rar file (similar to a .zip), this needs to be extracted using one of many free tools available online. My recommendation would be WinRAR on Windows, or Keka on Mac.
Once extracted, you have two options; burn the 'theme' as is, or attempt to modify the theme yourself. Modifying the theme requires time, patience and knowledge. I'll briefly touch upon modifying later, for now, I'll explain how you simply prepare a theme for install.
After extracting the download, you will either have a folder called /dnl/, or a folder of the filename, and inside that /dnl/.
If you're only interested in using one of the pre-made themes, then you simply need to burn this /dnl/ folder (and its contents) to a CD. It is recommended that you burn the disc at a slower than normal speed, 4x for example. In days of yore, older drives, with crappy lasers used to be very fussy at reading discs, and one trick to combat this, was to burn at a slow speed. MY2011+ users also have the option of using a USB drive, this must be formatted as FAT32.
Burning to CD-R in Windows;
-In Windows, right click on /dnl/
-Goto "Send to"
-Select your DVD/CD writer
-Wait 30 seconds whilst the files copy over to cache
-Click on your actual DVD/CD writer in Windows Explorer
-Choose burn files to disc
-Choose the bottom option (master I think it is) and give the disc a title (I went for DNL)
-Burn using slowest speed
-Wait 5 minutes for the disc to burn
Then... with your freshly prepared update disc/USB drive at the ready, head out to the car and switch on the ignition (I had the engine running). Turn the radio on, so that you can see whats on screen and hear the music. Ensure you're on a station you enjoy, and that the volume is at a nice level as you cannot change this during the update. When you're happy insert the USB drive, or CD and follow the onscreen prompts. Once you confirm the update two or three times, it will begin at which point you're pretty much stuck with whatever volume/station you have on, so make sure you are happy as the process takes roughly 20-30 minutes.
During the update, there are certain percentages where the update appears to have stalled. Fear not, be patient. As you're erasing and writing the flash, any interruption could be fatal to the stereo. So just leave it well alone.
After the update, the radio will automatically turn off, and back on, then after a minute or two, it will go off again, and turn back on to the 'standby screen'. At this point you can turn it on again. After a few more minutes, the time and date should set. After this, you're free to explore. Please note, favourites and stored stations will be lost.
Note Some MY2011-> users appear to have experienced issues if the car is fitted with the original Bluetooth module, and losing the ability to use your steering wheel control. I am unable to decipher the foreign language on this one, and as I am MY2009, I did not experience this issue. What I would say, is that if you're MY2011+ and have Bluetooth, do your own digging...
Editing/Creating Themes
If you're wanting to customise a theme, or make your own. You'll need the
time, patience and photo editing skills... I suggest reading the threads over at insignia-club.pl (links at the bottom of this), which should provide enough information for those wanting to go that extra step.
MY2011 users who patched their CD500 to DVD800 can downgrade back to CD500, by burning
and running it in the radio.
MY2011 users who want to restore to factory settings can then run the
Please note, the above links only work if your Radio thinks its a CD500 (no 3D maps, no Tours etc), you may need to downgrade first,
Credits & Sources
insignia-club.pl, yerry, Engine1992, ak_zyzop
Downgrading DVD800 to CD500/Returning to Factory Settings
MY2010 users can downgrade back to the original CD500 state by simply running the
[Você precisa estar Registrado para Comentar/Agradecer, para ver este link.] Gandra 


[/CENTER]

 Responder com Citação